


Getting started with PWABuilder.

PWABuilder was founded by Microsoft as a community guided, open source project to help move PWA adoption forward.
With PWABuilder, you can generate a PWA for your website, an Android apk for Google play store, an AppX package for Microsoft Store, a package for Galaxy Store (Samsung) and a package for MacOS.
In this article, we are just going to see how to set up the PWA on a website with PWABuilder. To begin, we will :
- Generate the manifest.json file.
1 - Use the PWABuilder extension.
Either you install the visual studio PWABuilder extension.
Once the installation is complete, click on “View” and choose “Command Palette”. Next entry “PWABuilder — Generate Manifest”.
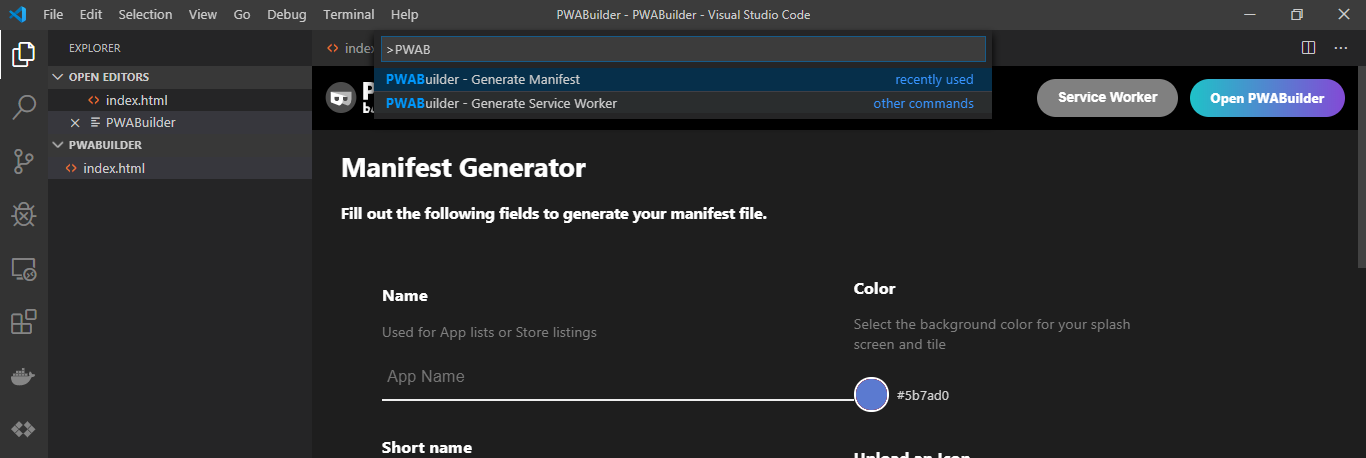
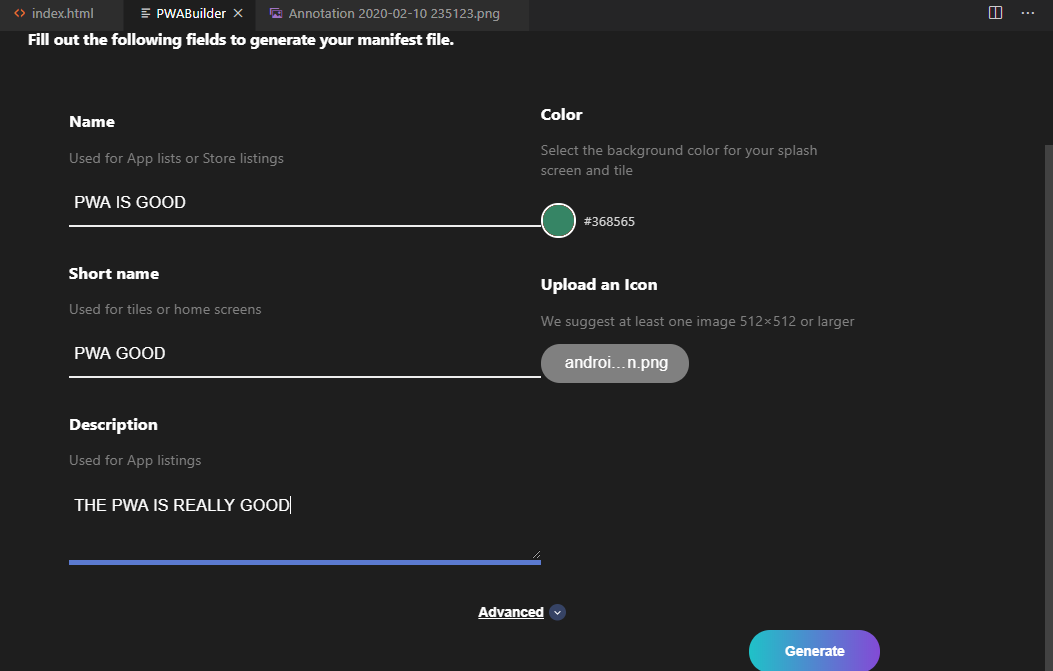
Now fill in the fields of the form and click on “Generate” to generate the maniest.
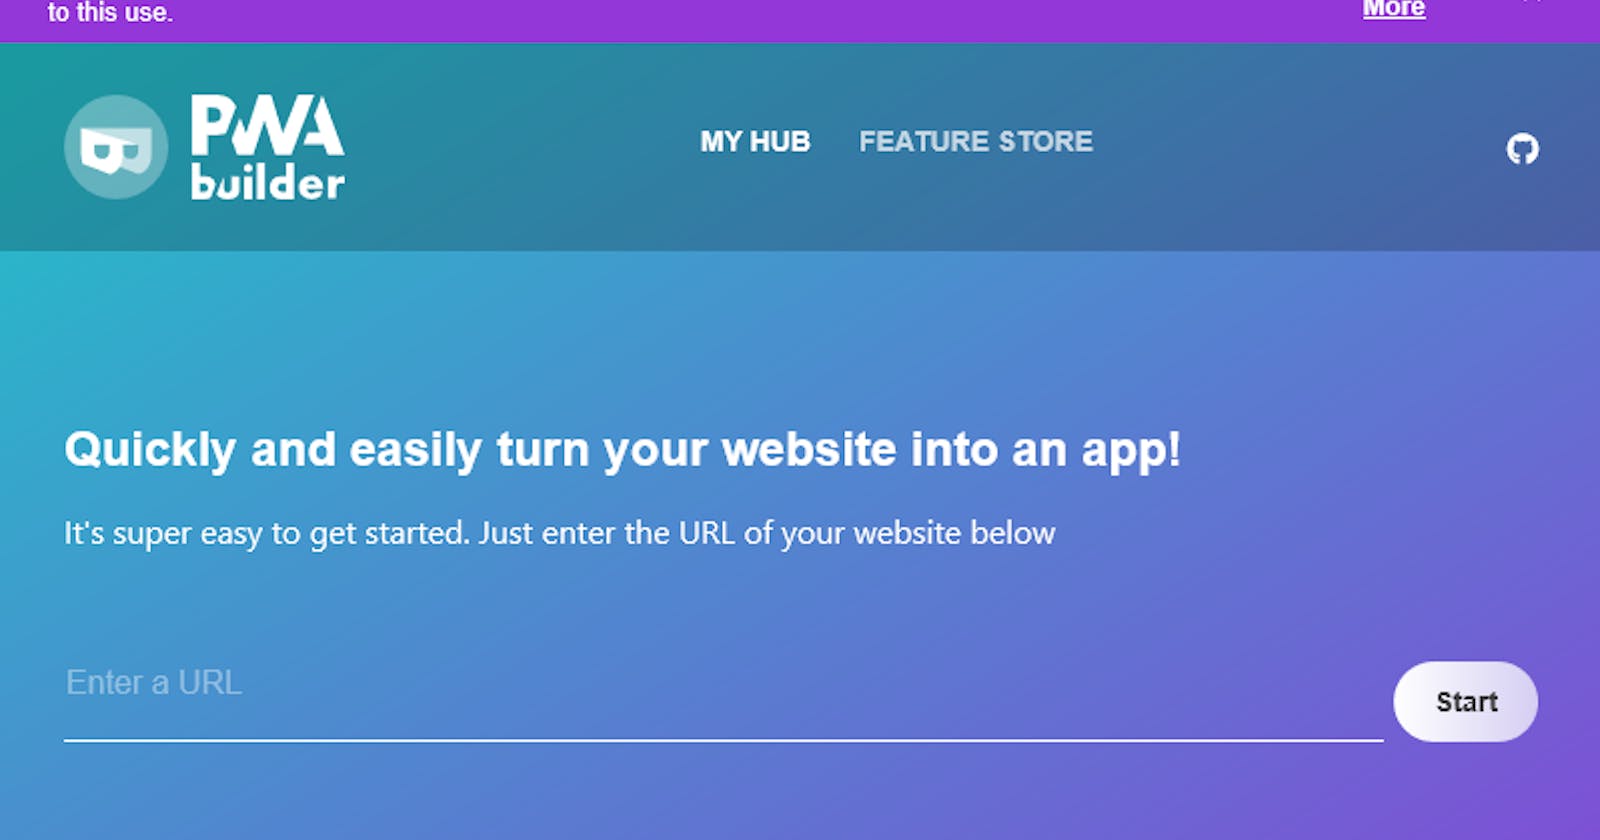
2 - Use the website.
Either you go to the website https://www.pwabuilder.com/generate and you fill in the fields of the form. Then you click on “Done” to generate the maniest.
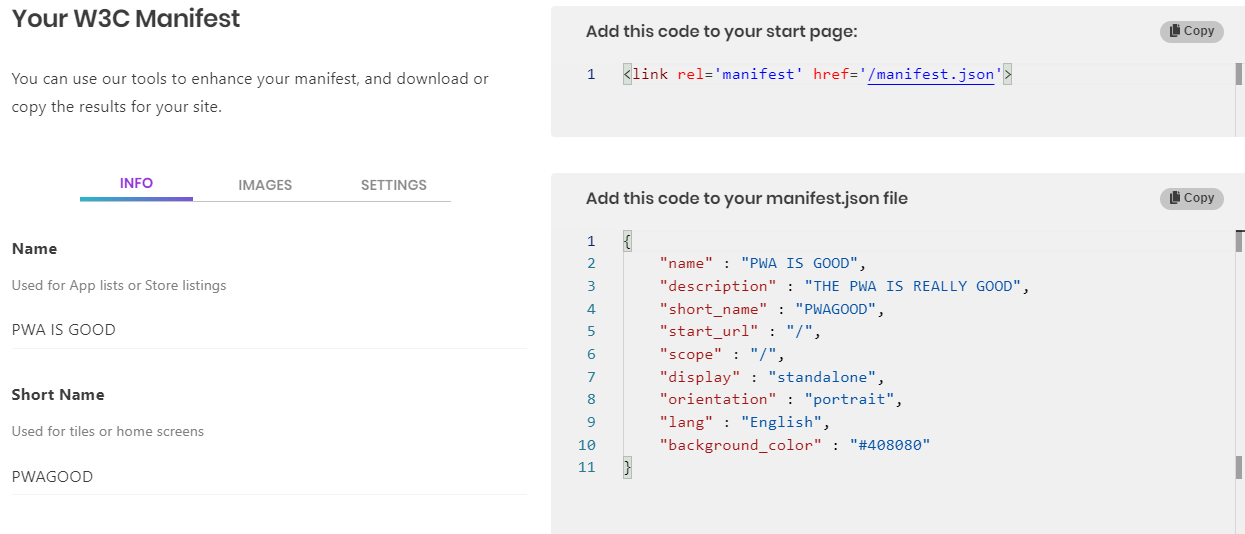
- Adding the manifest.json file.
When you recover the zip file, you must decompress it. Then copy the extracted files to your website directory.
Insert this line of code <link rel = ‘manifest’ href = ‘manifest.json’> in the <head> of your index.html file.
Please add the tags below to improve your PWA and SEO. Don’t forget to modify the information according to your website.
- Implementation of the Service Worker
We will go to https://www.pwabuilder.com/serviceworker to choose the Service Worker (SW) that suits us.
We are just going to use the “Offline page” functionality which will allow us to extract a file from our web server called “offline.html” and service the file whenever a network connection cannot be established.
Consider the requirements of your project when choosing the type of Service Worker.
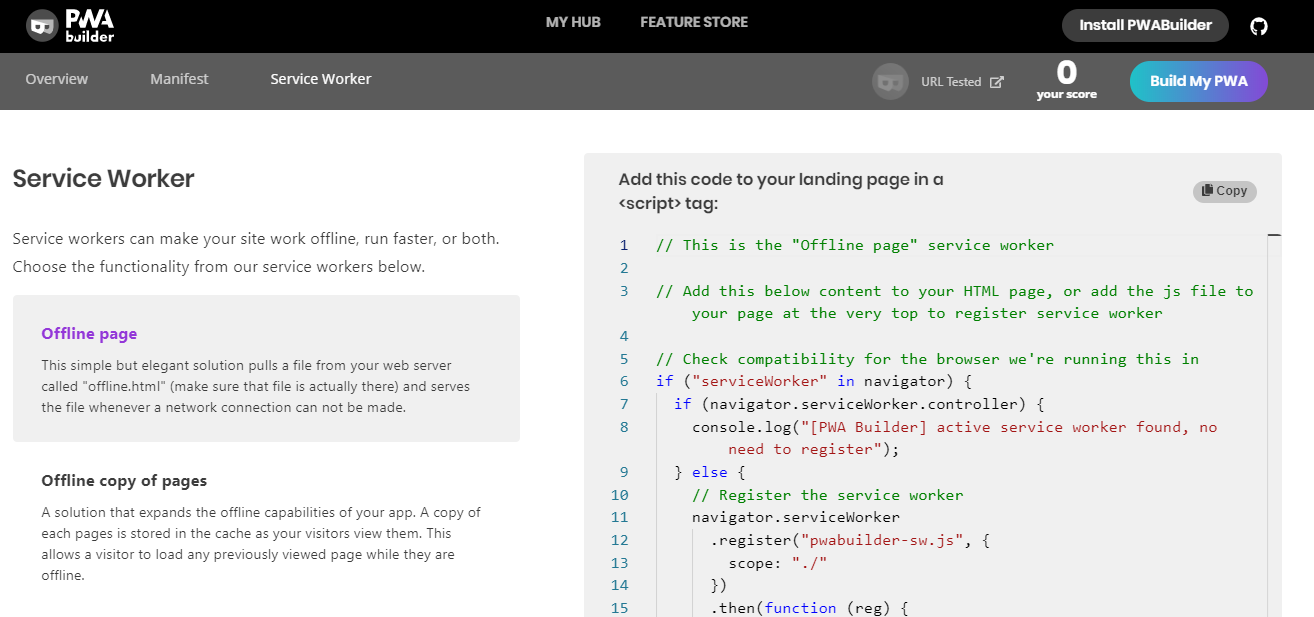
Now we will copy and paste the first script into our index.html file inside a tag <script>. It is recommended to put the script inside your <body> tag preferably at the bottom and just before adding other scripts.
Finally, you will create a file called “pwabuilder-sw.js” at the root of your site where you will paste the content of the second script.
Replace ToDo-replace-this-name.html of the second script with the name or link of the page you want to store in the Service Worker. In our case, here we will put index.html which is our home page. You can choose the page or pages you want. Yes, you can store several pages in your service worker.
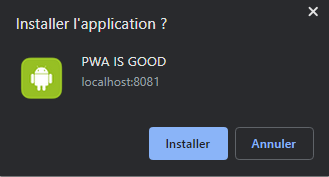
And here we are, we just created a PWA with PWABuilder.

The source code for this tutorial can be found here.
Thank you for reading.
Next👇.